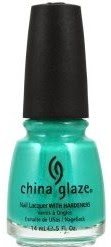
The colors I chose to gradient were Ulta3 Mojito, China Glaze Custom Kicks and China Glaze Towel Boy Toy.
Here is the obligatory bottle pics!
As per the Nailasaurus tutorial I put on 2 coats of the lightest color, Mojito, after Ulta3 Base Coat. I thought this would be easy to apply but it's was difficult as it dragged and caused bald spots if I wasn't careful. It turned out nicely though and dried pretty quickly. I might put some thinner in for next use though!
Then I tried to mix the 3 colors on a piece of baking paper and swirl with a toothpick as per the tutorial. This so didn't work for me with the sponge I had. So I cut my sponge in half and dampened the sponge to stop the polish bleeding through too quickly. Here is the sponge I had. I used the middle thin edge to stamp.
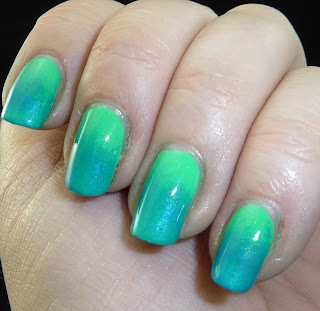
I then applied Mojito, Custom Kicks and Towel Boy Toy directly to the sponge in small stripes and just dabbed onto my nail with Mojito at the cuticle and the Towel Boy Toy at the end of my nail. I dabbed up and down and side to side until I was happy. I then cleaned my cuticles and applied Seche Vite as my top coat. Here is how it turned out:
With Flash to show the creme to shimmer effect of the gradient
I am pretty chuffed at how it turned out for my first effort :) So of course I couldn't leave it as just the plain gradient manicure...stamping mayhem ensued and this was the end result:
Left Hand Stamp-o-rama using Color Club Worth the Risque
Left Thumb Stamp Right Thumb Stamp
Right hand stamping (excuse dodgy cuticles I did housework all day!)
I used a mixture of OB plates, Fun 2 plate and Bundle Monster plates. I finished off with Seche Vite top coat to seal in the stamping...and I can see from the photo of my right hand I really need to slather on the Lush Lemony Flutter Cuticle Butter. As a reformed nail/cuticle biter I am still trying to get my cuticles in much better shape!
Hope you liked my take on the gradient mani..turned out pretty well I think :)


The gradient looks fantastic!
ReplyDelete